Webflow is an incredible platform for anyone new to web design. Its user-friendly interface allows beginners to create professional websites with ease. To start, sign up for a free Webflow account. This allows you to explore its features without any financial commitment.
After creating an account, you’ll land on the dashboard. Familiarize yourself with the layout, where various tools and options are readily accessible. Click on the “New Project” button to start designing. You can choose to use a template or start from scratch, depending on your comfort level.
Selecting a template can significantly speed up the design process. Webflow offers a range of customizable templates suitable for various industries. Once you choose a template, you can start customizing it to fit your brand identity. This is a great way to learn the platform’s capabilities while working on a real project.
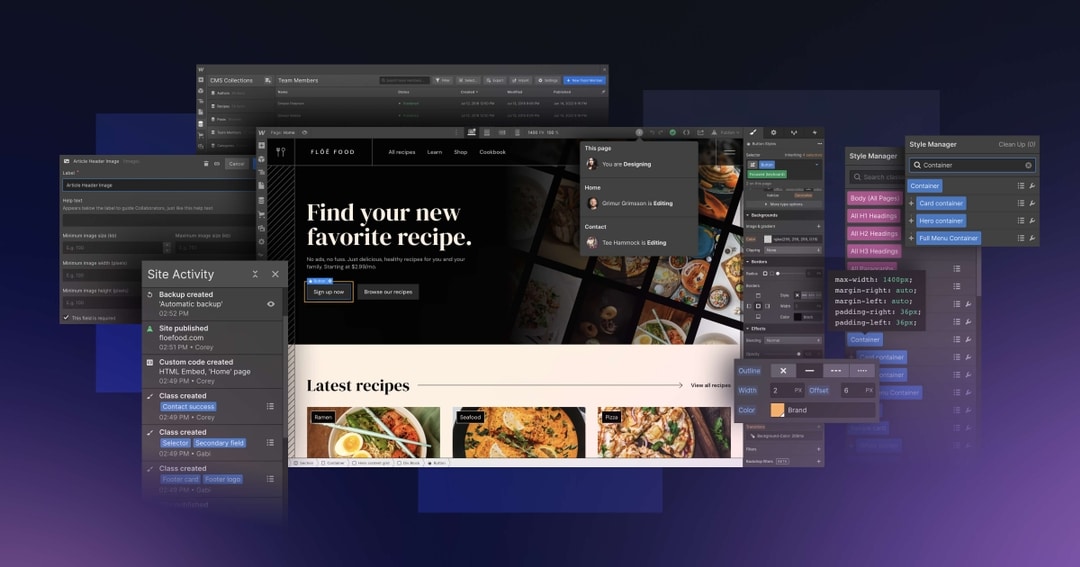
Once your project is open, explore the designer interface. The canvas is where you’ll arrange elements like text, images, and buttons. Use the Elements panel on the left to drag and drop components onto your canvas. Experiment with different elements to understand how they interact with each other.
The Style panel is where you can make design adjustments. Here, you can change colors, fonts, and spacing. Start by customizing text styles for headings and paragraphs. Choose fonts that reflect your brand, ensuring consistency throughout your design.
Responsive design is a vital feature in Webflow. Use the responsive settings to ensure your site looks great on all devices. Check how elements stack on different screen sizes and make necessary adjustments. This is particularly important as mobile usage continues to rise.
Adding interactions and animations can enhance user engagement. Webflow allows you to create animations without coding. Start with simple hover effects and then explore scroll-triggered animations. These features can add a dynamic element to your design.
Utilizing the CMS in Webflow can streamline content management. Create custom collections for dynamic content like blog posts. Design templates that pull in data from the CMS, keeping your site organized. This is especially useful for maintaining blogs or portfolios.
Before publishing, thoroughly test your site. Use Webflow’s preview mode to navigate through your design. Check for any inconsistencies or broken links. Testing ensures your site is ready for users before going live.
When you’re satisfied with your design, it’s time to publish. Webflow offers hosting options, but you can also export your code if needed. If using Webflow’s hosting, you’ll benefit from fast loading times and built-in SEO features. Follow prompts to connect your custom domain if you have one.
Continue learning and engaging with the Webflow community. Participate in forums and social media groups to gain insights and inspiration. This interaction can provide support as you refine your design skills. Embrace the learning process to grow as a designer.
In summary, getting started with Webflow is an exciting opportunity. Its user-friendly design and powerful features make it an excellent choice for beginners. By following the steps outlined in this blog, you can create stunning websites confidently. Enjoy your journey in web design with Webflow!


